A hose reel, and hose holders in general, are easy to install on almost any type of vertical wall or post, especially if it isn’t the first time when you try to attach something to your walls.
The difference in the installation process is due to the type of tools and hardware that you will need to use. For example, you will need to use specific hardware when you install your hose reel onto your house siding, different hardware for vinyl siding and brick walls, and special hardware for stucco or wood. As these surfaces react differently when drilled, special drill bits must be used depending on the mounting surface.
There is always a risk of cracking the wall when drilling, no matter the material that it is made of. Always drill carefully and understand the risks before starting the installation. Measure twice, mark the drilling spots correspondently, and drill the holes once. Always make sure you use the correct hardware for the job. As the hose reel weight is different for each model, always use the correct size and quantity of hardware to properly support the total weight of the unit.
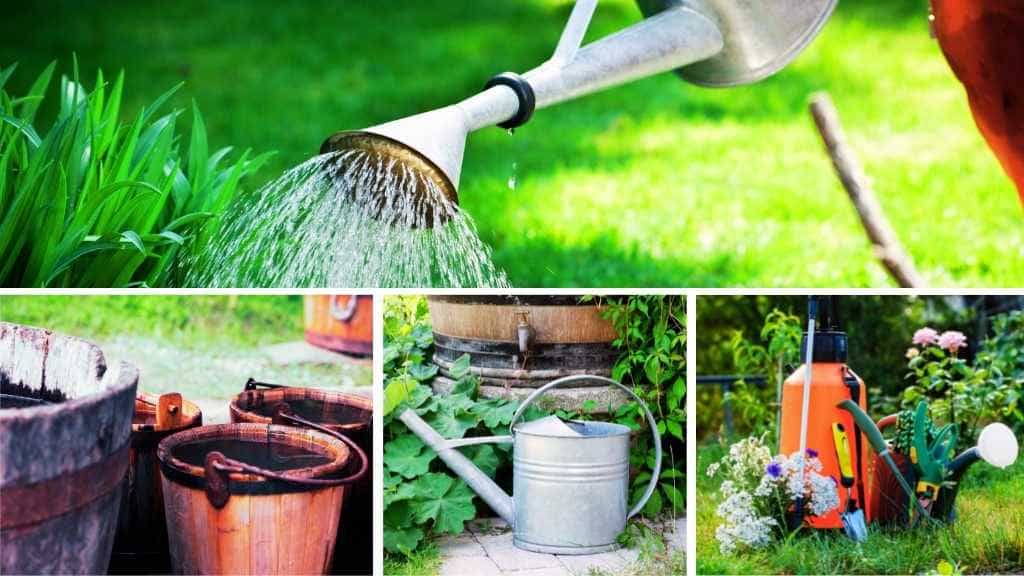
In this post, we will cover the steps to take when installing a garden hose reel on a brick wall. Additionally, you will also find the main tools and hardware that you will most probably need to properly install your hose reel. Keep reading below about all these details!
What Tools Will You Need for Mounting a Hose Reel?
Depending on the hose reel model and functionalities, you might need all or just some of the below installation tools. The manufacturer usually mentions in the user guide what type of tools you will need when installing that specific hose reel. Don’t worry about the extended list as most of the time we already have at least some of these tools in our garage.
To mount a hose reel on a wall, house siding, or post, you will usually need:
- Phillips screwdriver or an electric drill
- Hammer
- Hammer Drill
- Adjustable Socket Wrench
- Spirit level tool
- Pencil or a piece of chalk
What Hardware Is Necessary for The Hose Reel Installation
Even if you will receive the default hardware with the hose reel, such as washers and masonry screws, these are usually of lower quality and overall resistance than the ones you can find at any local hardware store. To ensure the installation of the hose reel will hold for a long period, it is better to purchase the hardware separately, no matter what type of hardware you receive with your hose reel.
There are different options in terms of what hardware you can use to install anything to a brick or concrete wall. Some of the hardware can’t be removed and reused after it has been drilled into the wall, while other types of fasteners are permanent.
Among the reusable type of hardware, we mention concrete screws, and among the non-removable hardware, the sleeve anchors, and the drive anchors.
Most of the time, to mount a hose reel against a brick wall, you will need the below hardware, depending on which type of fastener you prefer using.
For concrete or brick mounting, you will need the below hardware:
1. Brick or masonry anchor sleeves
- Masonry screws with anchor sleeves – the size details for the reel model you install should be available in the installation manual, usually, a 5/16-inch x 2 ½ inch sleeve anchor size will do the job.
- Washers
- Lock washers
- Nuts (7/16 inch)
2. Brick or masonry screws
- Masonry screws – the size details for the reel model you install should be available in the installation manual, usually, a set of 5/16-inch x 2 ½ inch concrete screws size will do the job.
- Wall anchors
- Lock washers (5/16-inch)
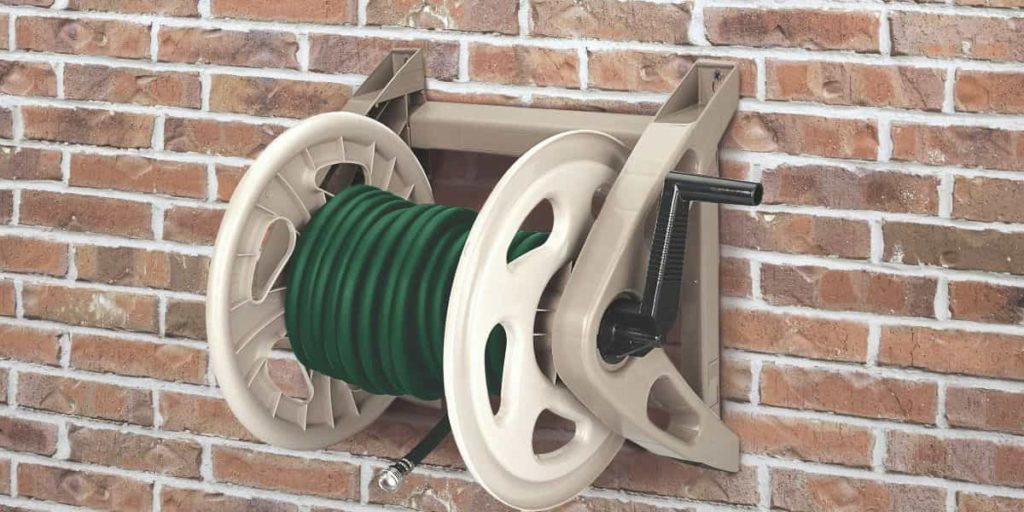
How to Attach a Hose Reel To a Brick Wall?
Even if it doesn’t seem so at the first glance, bricks are sensitive when drilled and can break or burst easily. To make sure you won’t ruin the appearance of your brick wall during the installation of the hose reel, first make some drilling tests on a separate brick, if possible.
Most likely, you will need to use a hammer drill for making the holes in the wall. Take the testing brick, place it on the ground and start testing. First with a smaller size drill bit and using medium pressure, start drilling a small hole. Then change the drill bit to the next available size up and enlarge the initial hole you made.
If you notice the brick starts cracking, decrease the pressure you are putting on the hammer drill. Start over with a new hole until you manage to do it without ruining the brick. When ready, you can start the actual mounting on your wall.
Here are the steps you will need to take to mount a garden hose reel holder onto a brick wall using either masonry sleeve anchors or masonry screws:
1. Choose the spot where the hose reel bracket or wall support will be set
When you install your hose reel onto a brick wall, you can choose to mount it into the mortar joints on all its anchoring points, or directly into the brick itself.
It is easier to drill the necessary mounting holed into the mortar joints. However, if your reel system weight is considerable or if you have a heavy-duty garden hose reel, it is recommended to set the mounting plate in such a position that all its anchoring points are drilled into the bricks and not into the joints.
The brick wall mortar joints are mostly a combination of sand and cement which is not as reliable to hold high weights as the brick itself. It is softer than the bricks and might hold lightweight hose reels, but it is not recommended to install a heavy-duty reel in the mortar joints.
If it is not possible to place all the anchoring points into the bricks, place the installation bracket in such a position that only the anchoring holes on its bottom are mounted into the mortar joints. Most of the reel system weight will be supported by the top anchoring points.
2. Make sure the reel mounting bracket is placed in a straight line
You can easily use a spirit level tool to align the mounting spots into a straight level line and to make sure your hose reel mounting plate is evenly positioned against the wall.
3. Mark the position where the hose dispenser bracket will be mounted
To do this, you will need a pencil, a piece of chalk, or any writing accessory that you can use to make some visible marks on the brick wall.
Place the reel mounting bracket on the brick wall and make the marking through all its anchoring holes. Usually, there will be at least three anchoring holes in the reel bracket, two on the upper side and one on the lower side. Mark all the available anchoring points by holding the bracket with one hand and using a pencil with the other hand.
4. Start drilling the holes using a hammer drill
Considering the hole drilling tests that we mentioned above were successfully completed, you can now start drilling the holes on the brick wall. Use the specific masonry drill bits. Each hole must be ½ inch deeper than the anchor will penetrate.
Drill a hole into each marked position that you performed on the previous step. Enlarge each hole starting with a smaller drill bit width size and changing it to the upper size.
You may drill slightly under size since masonry materials all have different properties. As a suggestion, enlarge the holes until you can place at least half of the drop-in anchor into the hole. Don’t apply too much pressure on the drilling machine as it can result in damaging the wall.
5. Place the drop-in anchors into the wall
In this step, you can use a hammer to secure all the drop-in anchors into the brick holes. Once you are done, should be firmly placed into the holes you drilled in the previous step. This step is necessary if you are mounting your hose reel using masonry screws. If you are using sleeves anchors for the installation, no need to take this step.
6. Place the reel bracket onto the brick wall
Fix the reel bracket to the wall in the exact position where the anchoring holes are made.
If you are using masonry screws to mount it, place the washers onto the screws and then place the screws into each anchoring point. Tighten them using a Phillips screwdriver or an electric drill. The screws will meet the wall anchors and will tighten the reel bracket to the brick wall.
If you are using sleeve anchors to mount your hose reel, slide the sleeve anchors into the hole and tap it gently with a hammer until the desired depth is reached. Then remove the sleeve anchor nut and place the suspension hole of the reel bracket over the sleeve. Then install a washer, then a lock washer, and finally the sleeve end nut. As the last step, using a socket wrench, tighten the sleeve anchor nut at the end to perfectly fasten the reel mounting support to the wall.
Test the reel mounting support to see if it is perfectly secured to the wall.
7. Place the reel onto the bracket
For most swivel hose reels, the reel will attach to the wall using mounting bracket support. After the bracket is mounted to the wall as described above, you can attach the reel to the bracket by sliding it from the top onto the bracket. This will lock in the reel to the wall-mounted bracket.
In case you have doubts, always check the manufacturer’s instructions on how to attach and detach the reel from its mounting support.
Read more about garden hose reels here:
- How to Decide Where to Hang a Hose Reel
- Can You Install a Hose Reel on Wood or Vinyl Siding?
- What Is a Hose Reel And Why You Need One
- How to Wind a Garden Hose
If you are looking for a garden hose reel holder, check our recommendations below: