Most of our friends thought that as long as their outdoor hose bib is not that close to the garden area, the installation of a drip irrigation system is not actually a solution for them. Another concern they had was around the installation process, as they thought they need an entire network of connected water pipes just to start with.
The pipes are then installed and buried all the way between the hose bib and the garden. And this type of setup automatically translates into spending a lot of money on the different parts and on a specialized contractor to do the job.
But in fact, if you have an outdoor hose bib anywhere on your property, you can use a standard garden hose to get the water source close to your garden and attach a simple drip irrigation system directly to the garden hose.
To install a drip line with a garden hose, purchase a drip irrigation kit and install it based on the instructions provided in the package. Once all the parts of the irrigation system are connected and displayed in the desired garden area, connect the mainline of the drip system to a standard garden hose in these 4 simple steps:
- Connect the hose adaptor to the supply tubing of your drip line system. On the other end of the tubing, which is the end of the drip line, you should attach the cap fitting.
- Attach your garden hose to the supply tubing using the hose connector
- Attach the garden hose to the outdoor hose bib
- Turn on the water supply
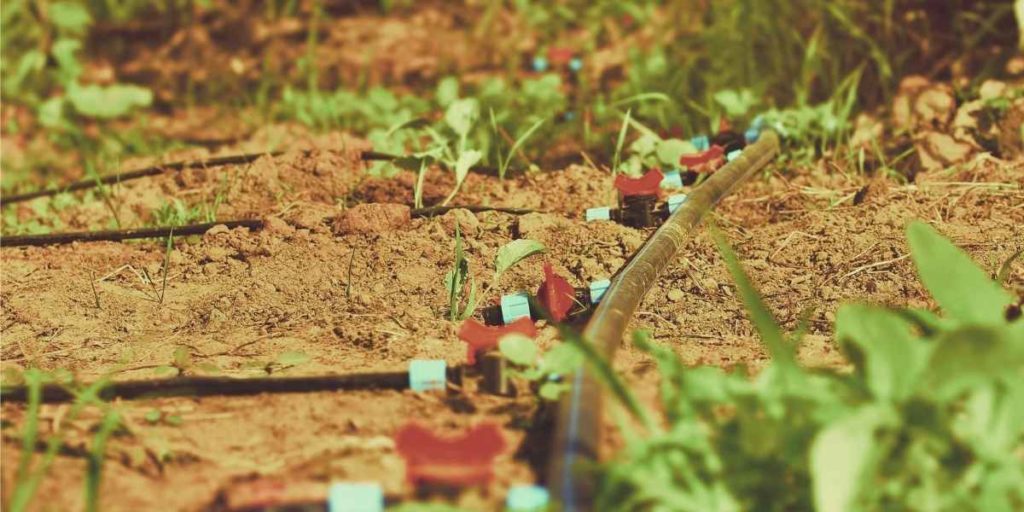
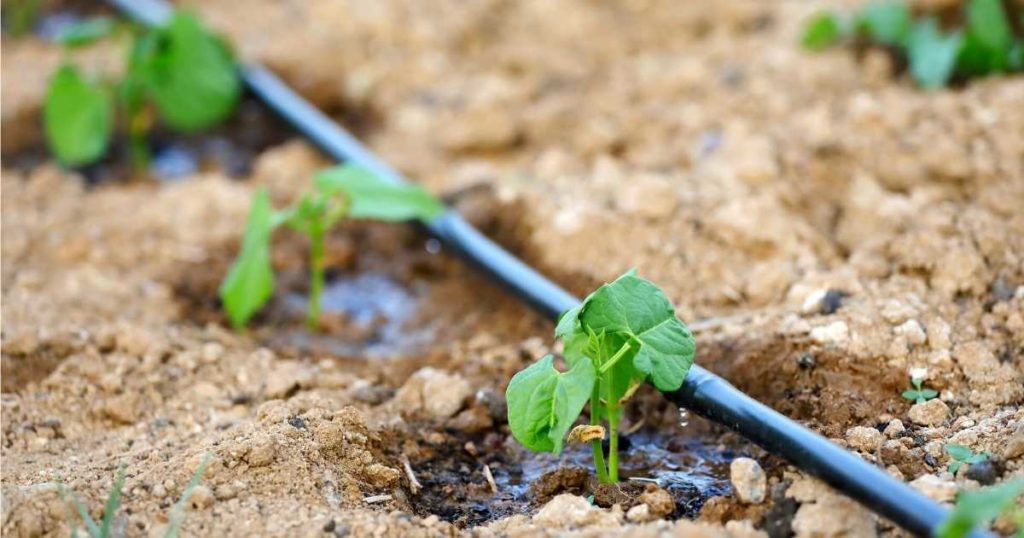
You can install a drip irrigation system above the soil surface, so no additional plumbing is needed, no digging, and no burying water pipes. And as everything stays above ground, you can quickly spot any issues such as unwanted leaking, or any other problems and damages that can happen in time.
How to Setup Automatic Drip by Using a Garden Hose
With drip line irrigation, the automatization of the watering process is an easy job. All you need is a water timer for garden hose use.
The purpose of a water timer is to automatically start the water flow through the irrigation system in the garden. You can program the watering to start every x hours, every day, or every x days. Additionally, you can set certain periods of time when the system runs. All water timer devices can be switched to manual operating mode, in case you need the system to start independently of the pre-set watering recurrency.
Water timers come in different models and the available functions depend on the brand and model. They are either battery-operated or electrical. They can have one hose connector inbuilt, or several such connectors, in case you need to attach more than one garden hose to the same outdoor faucet.
Installation of water timers is an easy thing to do. You can connect it directly to the hose bib on one side, and to the supply tubing on the other end.
Don’t forget to connect a pressure regulator to your watering system. Connect this fitting between the water timer and the mainline tubbing of the drip line system. In case your mainline tubing is a garden hose, connect the pressure regulator between the water timer and the garden hose.
If you use a garden hose to get the water closer to the garden area where your drip system is installed, you need to connect the water timer between the outdoor hose bib and the garden hose.
How to Connect a Garden Hose to 1 or 2 Drip Lines
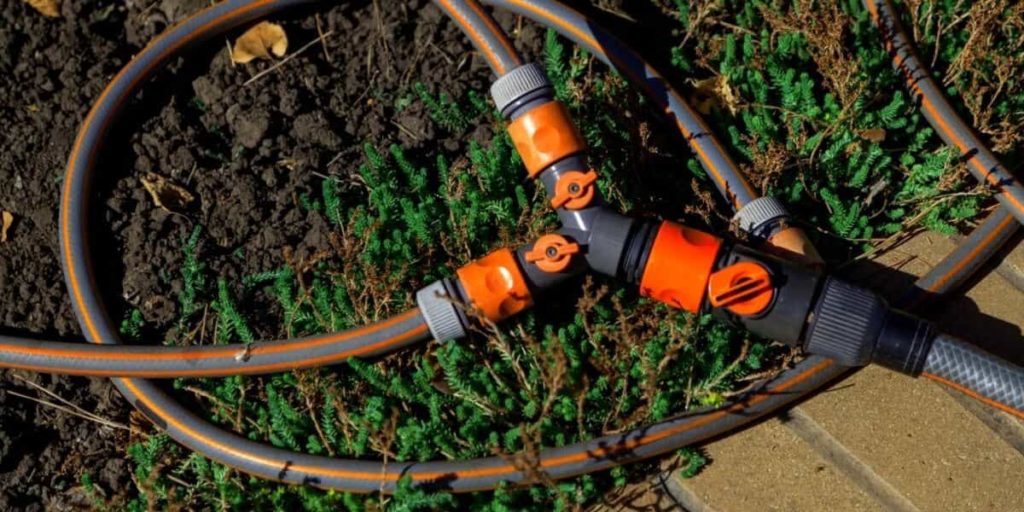
To connect a garden hose to more than one drip line, you must use a hose splitter.
Attach a 2-way hose splitter at the male end of the hose that you intend to use with the main drip lines. Then attach the drip lines to the two hose connectors of the splitter in the same way as if you were attaching them directly to the garden hose.
These types of hose splitters come in different models and can accommodate two or more drip lines to be connected at the same time, to the same water source. The hose splitter connectors are usually installed directly on the faucet. But they can also be installed to the male end of the garden hose (the end where you usually connect a nozzle sprayer). In situations where the outdoor faucet is not close to the garden area where your drip irrigation system is installed, a backyard hose can be used to bring the water source where needed.
How to Make Drip Irrigation From a Garden Hose
We all end up having old garden hoses around our property and stop using them due to functionality damages. But there is more than one option to continue using an old and damaged water hose. And one of the most convenient ways is to make a drip irrigation line out of it.
You can turn any old garden hose into a drip irrigation hose. No matter if it has some holes in it, or if it is damaged, one of the best options to repurpose a garden hose is to turn it into a drip irrigation hose.
You need to use a small hand drill or a hole punching tool to create many holes in the garden hose.
Please check the below short steps of this process:
- First, lay the garden hose throughout the desired garden area
- Punch holes near the plants that you need to water
- Attach a hose cap fitting to the end of the hose
- Attach a pressure regulator on the opposite end of the hose
- Connect the pressure regulator to a water timer, to have the watering process done automatically. In case you want to manually start and stop watering, connect the pressure regulator directly to the faucet.
- Turn on the water from the faucet and check if water is dripping from all the holes you created.
* In case needed, enlarge some of the drilled holes that might not drip enough water.
Conclusion
In this post, we shared details on how to install a drip line irrigation system easily, using a garden hose. We also explained the process of connecting more than one line of irrigation to the same garden hose. And to simplify even more the garden tasks, we detailed how to set up an automatic watering process by using water timers.
The last part of this post provides more details on how you can give your old garden hose a second life, and turn it into a drip irrigation line.
We hope you found valuable and helpful information in this post, which you can put to practice successfully in your specific situation.
Read more about irrigation and drip irrigation here:
