Installing a rain barrel is an excellent way to conserve water, reduce your environmental footprint, and save money on your water bill. With just a few simple steps, you can easily set up a rain barrel and start collecting rainwater for use in watering plants, washing cars, or other outdoor activities.
In this post, we’ll walk you through the process of installing a rain barrel, from selecting the right location and equipment to connecting it to your downspout and ensuring that it functions properly. Whether you’re a seasoned DIY enthusiast or a novice looking to start your first home improvement project, this guide will provide you with everything you need to know to install a rain barrel in a few simple steps.
So let’s get started and learn the basic steps for a rain barrel installation!
What tools do I need to install a rain barrel?
The tools required for installing a rain barrel may vary depending on the specific installation instructions and the type of rain barrel you have. However, here are some common tools that you may need:
- Drill with drill bits: You may need a drill to create holes for the spigot, overflow hose, and inlet on your rain barrel.
- Wrench or pliers: You may need a wrench or pliers to tighten the connections between the rain barrel and the downspout diverter, spigot, and overflow hose.
- Level: A level can help ensure that your rain barrel is installed evenly and securely.
- Shovel: If you need to level the ground before installing your rain barrel, a shovel may come in handy.
- Tape measure: A tape measure can help you measure the distance between your downspout and rain barrel and ensure that your installation is properly aligned.
- Silicone sealant: You may need silicone sealant to seal any gaps or leaks in the connections.
- Scissors or utility knife: You may need scissors or a utility knife to cut the downspout diverter, overflow hose, or inlet hose to the appropriate length.
These are just some of the tools that you may need when installing a rain barrel. Always read the manufacturer’s instructions and make sure you have the necessary tools before you begin the installation.
How to install a rain barrel?
Installing a rain barrel is a simple process that can typically be done by homeowners with basic tools and some assistance. Here are the general steps to install a rain barrel:
1. Choose a location:
The correct location for installing a rain barrel will depend on a variety of factors, including the layout of your property, the amount of rainfall you receive, and the specific needs of your garden or landscape.
The location of the rain barrel should be close to a downspout from your home’s gutter system. It’s also important to choose a location that is relatively flat and level, as this will help prevent the barrel from tipping over or overflowing. Make sure there is enough space around the barrel to allow for easy access to the spigot and for attaching the diverter.
However, there are some general guidelines you can follow when selecting a location for your rain barrel:
Choose a flat and stable surface:
Your rain barrel should be placed on a flat and stable surface, such as a concrete pad or pavers, to prevent it from tipping over or becoming unstable.
Position it near a downspout:
Your rain barrel should be positioned near a downspout to make it easy to collect rainwater. You can also use a diverter to direct water from multiple downspouts into your rain barrel.
Avoid areas with heavy foot traffic:
Your rain barrel should be placed in an area that is not subject to heavy foot traffic or other activity that could damage the barrel or the surrounding landscape.
Consider sun exposure:
If possible, choose a location that receives partial to full sun exposure, as this can help to prevent the growth of algae and other microorganisms that can affect the quality of the water.
Ensure accessibility:
Finally, make sure that your rain barrel is easily accessible for maintenance and cleaning. You’ll need to be able to periodically empty and clean the barrel to prevent debris buildup and ensure that it continues to function properly.
2. Prepare the ground:
Preparing the ground for mounting a rain barrel is an important step in ensuring that it remains stable and secure. Here are the steps you can follow to prepare the ground for your rain barrel:
Clear the area:
First, clear the area where you plan to place your rain barrel. Remove any rocks, debris, or other materials that could affect the stability of the barrel.
Level the ground:
Use a shovel or a rake to level the ground where you plan to place your rain barrel. Make sure the surface is flat and even to prevent the barrel from tipping over or becoming unstable.
Create a stable base:
To provide additional stability, you can create a stable base for your rain barrel using a concrete pad or a layer of pavers. This will help to distribute the weight of the barrel evenly and prevent it from sinking into the ground.
Add a layer of gravel:
Another option is to add a layer of gravel or crushed stone to the ground beneath your rain barrel. This will help to improve drainage and prevent the ground from becoming waterlogged.
Install a rain barrel stand:
Finally, you can install a rain barrel stand to elevate your rain barrel off the ground. This can make it easier to access the spigot and provide additional stability.
These are the basic steps you need to take to prepare the ground for mounting your rain barrel and ensure that it remains stable and secure.
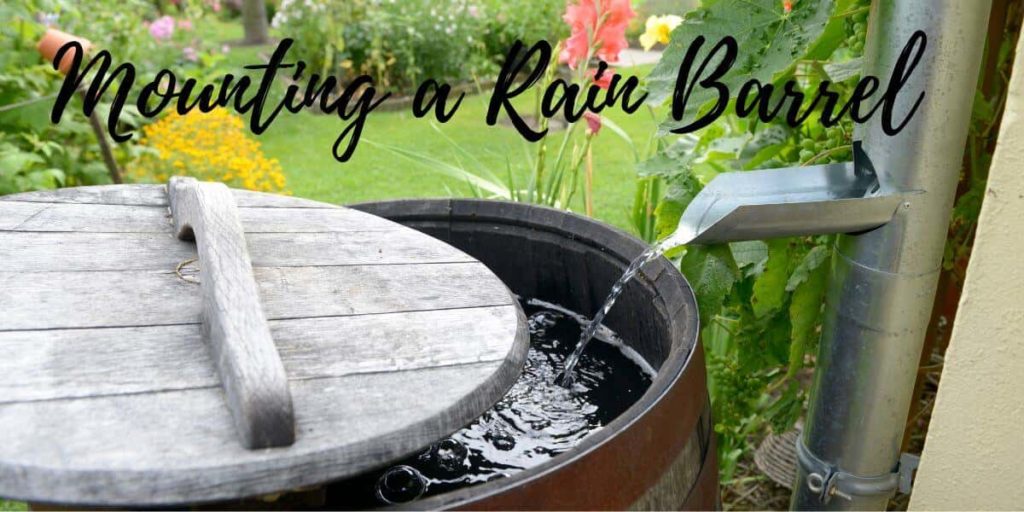
3. Install a diverter:
A diverter is a device that attaches to your downspout and diverts the water into the rain barrel. Follow the manufacturer’s instructions to install the diverter.
But generally, these are the steps you can follow to install a diverter for mounting a rain barrel:
- Choose the right diverter: There are several types of diverters available. Choose a diverter that is compatible with your downspout and your rain barrel, and ensure that it is designed to handle the amount of rainfall you typically receive in your area.
- Cut the downspout: Use a saw or a pair of snips to cut the downspout at the desired height. This should be high enough to allow water to flow into the rain barrel, but low enough to prevent overflow.
- Install the diverter: Follow the manufacturer’s instructions to install the diverter onto the cut downspout. This will typically involve attaching the diverter components using screws or clamps.
- Connect the diverter to the rain barrel: Use a hose or a PVC pipe to connect the diverter to your rain barrel. Make sure that the connection is tight and secure to prevent leaks.
- Test the system: Finally, test the system by running water through the downspout and into the rain barrel. Check for any leaks or overflow, and adjust the height of the downspout or the position of the diverter as needed to ensure that water flows smoothly into the rain barrel.
4. Install an overflow hose:
If your rain barrel does not have an overflow valve, install an overflow hose to direct excess water away from the foundation of your home. Attach the hose to the overflow hole on the rain barrel and direct it to a suitable location, such as a garden or other planting area.
Installing an overflow hose is an important step in preventing your rain barrel from overflowing during heavy rainfalls. Here are the steps you can follow to install an overflow hose and avoid a rain barrel overflow:
- Choose the right location: First, choose a suitable location for the overflow hose. This should be near the top of the rain barrel and on the opposite side of the barrel from the downspout. This will ensure that water flows out of the rain barrel before it reaches the top and overflows.
- Drill a hole: Use a drill to make a hole in the side of the rain barrel at the chosen location. Make sure the hole is slightly smaller than the diameter of the overflow hose.
- Insert the hose fitting: Insert the hose fitting into the hole in the side of the rain barrel. Secure the fitting in place using a rubber gasket and a nut on the inside of the barrel.
- Attach the overflow hose: Connect the overflow hose to the fitting on the outside of the rain barrel. Make sure the connection is tight and secure to prevent leaks.
- Direct the hose: Direct the overflow hose away from the foundation of your home and towards an area where the water can safely drain away, such as a garden bed or a rain garden.
5. Test the system:
After installing a rain barrel, it’s important to test the system to ensure that it has been installed properly and is functioning correctly. Here are the steps you can follow to test your rain barrel installation:
- Fill the rain barrel: First, fill the rain barrel with water using a hose or by waiting for the next rainfall.
- Check for leaks: Check the rain barrel and all connections for leaks. If you notice any leaks, tighten the connections or apply a sealant to the leaking area.
- Check the overflow: Once the rain barrel is full, check to see if the overflow hose is working properly. The overflow hose should allow excess water to drain away from the foundation of your home and towards an area where the water can safely drain away.
- Use the water: Finally, use the water from the rain barrel for your plants or other outdoor uses. Make sure the water is flowing freely and that there are no blockages in the hose or spigot.
By following these steps, you can test your rain barrel installation and ensure that it has been installed properly and is functioning correctly. Regular maintenance and testing can help prevent leaks, clogs, and other problems that could compromise the effectiveness of your rain barrel.
Overall, installing a rain barrel is a straightforward process that can help you save water, reduce stormwater runoff, and improve the health of your plants and garden. With a few basic tools and some help, you can install a rain barrel in a few hours and start enjoying the benefits of collecting and using rainwater.